Building Custom Interactions & Animations in Webflow

Websites today are more than just static pages. They need to be engaging, interactive, and visually appealing to keep users interested. This is where Webflow’s custom interactions and animations come into play. With Webflow, businesses in Malaysia can create dynamic, eye-catching experiences without needing to write a single line of code.
If you want a website that stands out, using Webflow’s animation tools can make all the difference. In this blog post, we’ll explore how custom interactions and animations work in Webflow, why they’re essential, and how Malaysian businesses can leverage them for a more interactive web experience.
What Are Webflow Interactions & Animations?
Before we dive in, let’s break down the basics:
- Interactions: These are triggered responses to user actions, such as clicking, hovering, or scrolling.
- Animations: These are movements or effects that add motion to your website elements, making it more visually appealing.
Webflow allows you to create both using a simple, no-code interface, making it easy for anyone to design stunning, interactive websites.
Why Are Interactions & Animations Important?
Here’s why businesses in Malaysia should pay attention to Webflow’s interaction and animation tools:
- Better User Experience – Engaging animations guide users through your website smoothly, making navigation enjoyable.
- Higher Engagement – A well-placed animation can make a site more fun and interactive, encouraging users to stay longer.
- Increased Conversions – Animations can direct attention to key areas, like sign-up buttons or product highlights, leading to higher sales or sign-ups.
- Stronger Brand Identity – Custom animations give your website a unique personality, setting it apart from competitors.
- Professional Look – Smooth interactions make your website feel high-quality and well-designed, giving your brand a more polished image.
Types of Interactions & Animations in Webflow
Webflow provides multiple ways to bring your website to life. Here are some of the most popular types of interactions you can build:
1. Page Load Animations
Make a strong first impression by animating elements as soon as the page loads. This could be a fade-in effect, a sliding text animation, or a zoom effect for images.
2. Scroll-Based Animations
Trigger animations based on how far a user has scrolled down the page. These effects are commonly used for:
- Parallax scrolling (where background images move at a different speed than foreground elements).
- Progress indicators that visually show how much of the page has been read.
- Elements that fade in or move into view as users scroll.
3. Hover Effects
Make elements react when users hover over them. Examples include:
- Buttons changing colour or growing in size.
- Images revealing extra information when hovered over.
- Subtle text animations that enhance readability.
4. Click Interactions
Trigger animations when users click on an element. Some examples include:
- Expanding sections (like FAQs that reveal answers when clicked).
- Smoothly opening and closing menus.
- Triggering pop-ups or lightboxes.
5. Lottie Animations
Webflow supports Lottie animations, which are lightweight, high-quality animations that can add more personality to a website. These animations work well for loading screens, icons, and interactive illustrations.
Step-by-Step: How to Create an Interaction in Webflow
Here’s a simple guide to creating an animation in Webflow:
Step 1: Open the Webflow Designer
Log into your Webflow account and open the project you want to work on.
Step 2: Select the Element to Animate
Click on the element (text, image, button) you want to add an interaction to.
Step 3: Open the Interactions Panel
On the right-hand side, go to the Interactions & Animations tab.
Step 4: Choose a Trigger
Webflow offers multiple triggers like:
- Page Load – Starts the animation when the page loads.
- Scroll – Triggers the effect when the user scrolls.
- Hover – Activates when the user hovers over an element.
- Click/Tap – Animates when clicked.
Step 5: Add an Animation
Once you’ve chosen a trigger, apply an animation effect, such as:
- Fade In/Fade Out
- Move Up/Down
- Scale (Grow/Shrink)
- Rotate
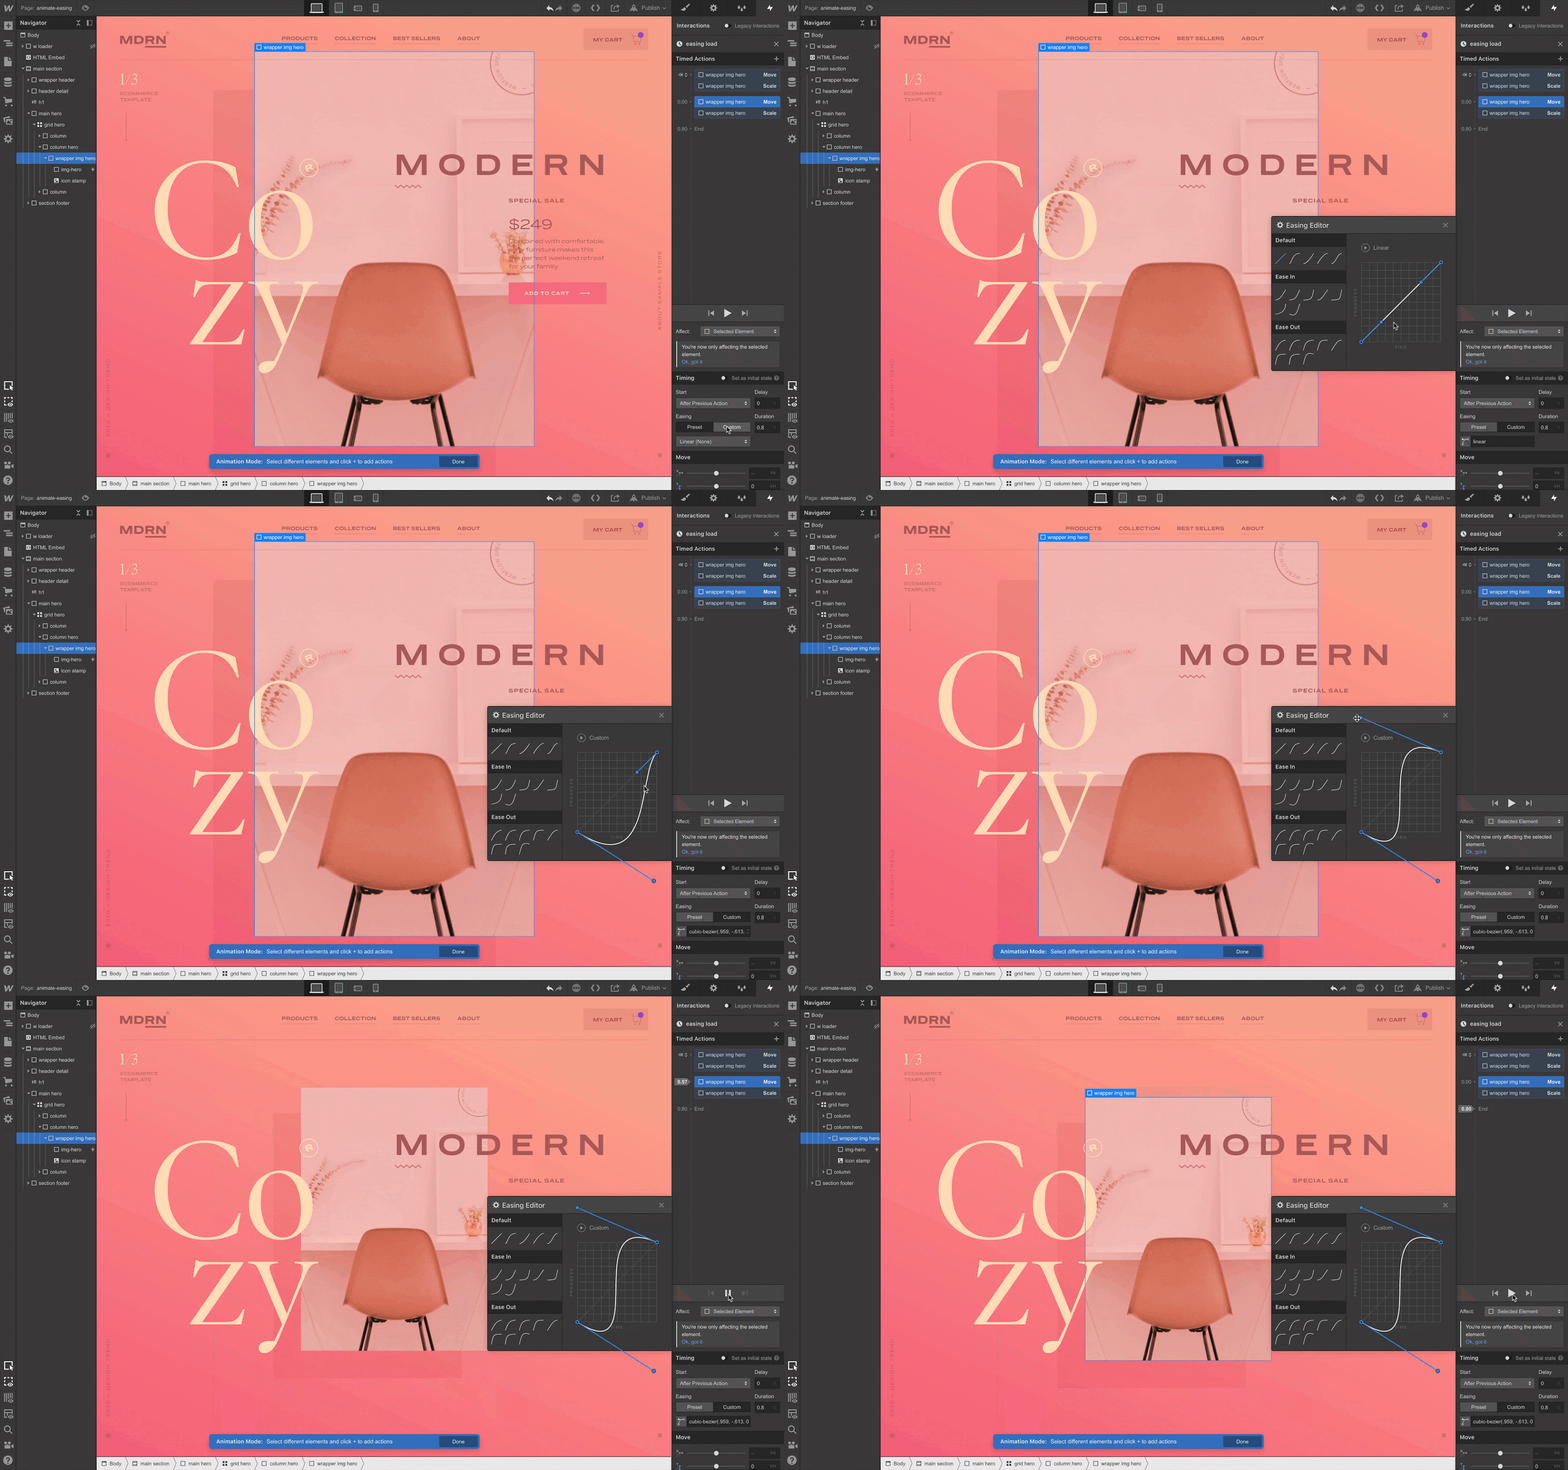
Step 6: Adjust Timing & Speed
Fine-tune the animation duration to make it smooth and natural. Webflow allows precise control over speed, delay, and easing effects.
Step 7: Preview & Publish
Test your animation in the Webflow preview mode to ensure it looks great. Once happy, hit Publish and enjoy your interactive website!
Best Practices for Using Webflow Animations
To ensure your animations enhance the user experience rather than overwhelm visitors, follow these best practices:
- Keep It Subtle – Avoid excessive motion that might distract users.
- Focus on Functionality – Use animations to improve navigation and guide users.
- Optimise for Performance – Too many animations can slow down a site. Keep it lightweight.
- Test on Different Devices – Ensure animations work smoothly on both mobile and desktop.
Key Takeaways
- Webflow interactions & animations allow businesses to create engaging, dynamic websites without coding.
- Different types of interactions include scroll effects, hover animations, and click-based triggers.
- Webflow’s no-code approach makes it easy for Malaysian businesses to implement professional animations effortlessly.
- Properly designed animations improve user experience, increase engagement, and drive conversions.
Top Tips
Ready to scale your business with a fully customised website?
Not sure which web design service do you need to grow your business? Let us figure it out together!


